Auto Site Allocation
Role Required: SDAdmin
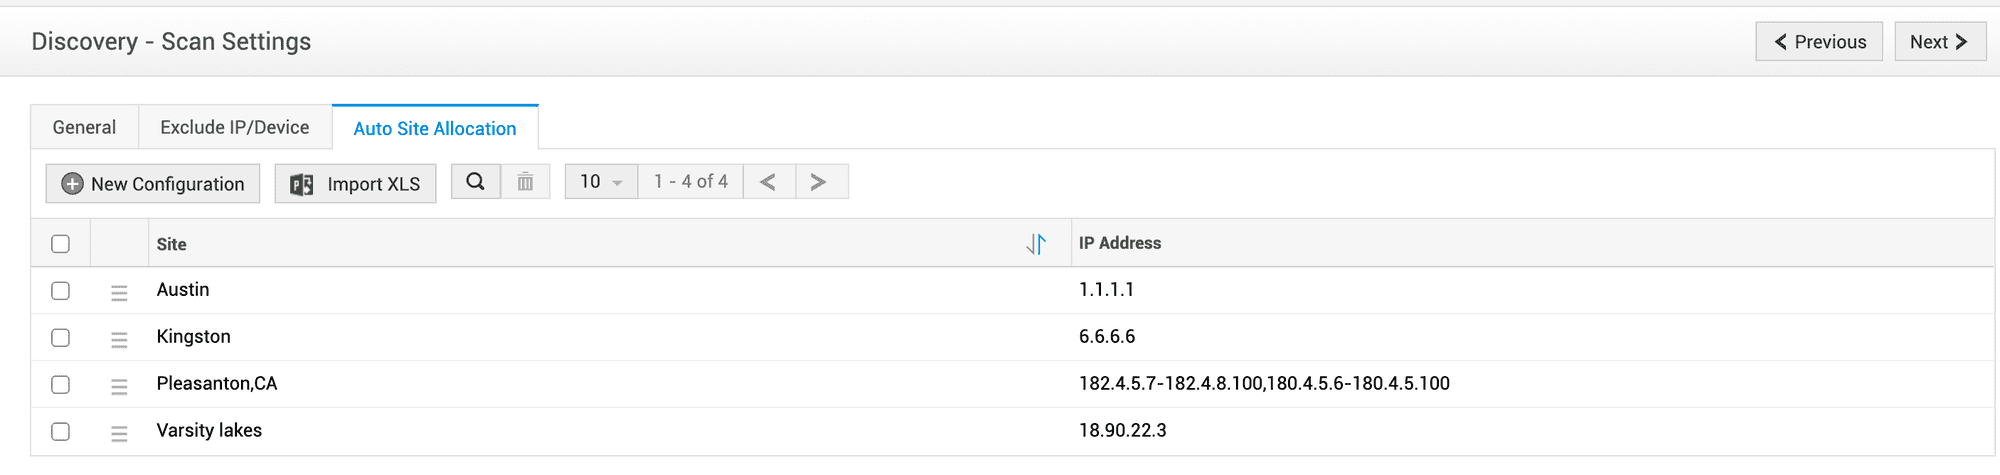
To configure automatic site allocation, navigate to Admin > Discovery > Scan Settings > Auto Site Allocation.
Under this tab, you can create configurations to associate assets with specific sites based on their IP addresses.
After creating a new configuration, a full scan will run, followed by a partial scan every 6 hours.
The allocation will be based on the first matching IP address. During the partial scan, the association will occur only for assets added manually through forms or for assets whose IP address has been changed after the full scan.
Associate Assets to a Site

This configuration will not work with distributed asset scans.
- Click New Configuration
- In the dialog box that appears, select your preferred site from the Site drop-down.
- Provide an IP address or an IP address range, and click Save. Only the IPv4 addresses with the following formats are supported:
- A single IP address: 172.3.4.50
- A range specified using the last byte: 172.3.4.50-250
- A range specified using the last two bytes: 172.3.4.50-5.250
- A range specified using the last three bytes: 172.3.4.50-4.5.250
- A range specified using all four bytes: 172.3.4.50-173.1.1.250

For a single configuration, you can add multiple IP addresses separated by commas.
Example: 192.168.23.132,192.168.23.140-192.168.23.150, 172.3.4.50-250.
Bulk Assignment of Assets to Sites
For bulk assignment of assets to sites,
- Go to Admin > Discovery > Scan Settings, and click Import XLS.
- Download the sample xls file to view the right import file format.You can either fill in the site details directly in the sample file or export your own files and later map the site and IP address columns.
- Click Choose File and select the file that you want to import.
- Click Next.
- If the Site and IP Address fields are mapped incorrectly, select the right columns from the drop-down.
- Click Import. A successfully imported message will appear.
Edit/Delete a Site
- To edit configurations, click
beside a site name in the list view and select Edit.
- To delete configurations, select the configurations from the list view and then click
.
Related Articles
Auto-Assign Workstations
Automatically assign workstations or servers to users based on the last login information. Only Windows machines that have been scanned successfully can be auto-assigned. The last logged user must be imported from AD to AssetExplorer. Role Required: ...Auto Update
Auto Update periodically checks for and applies patch updates in a single click from the application UI. This ensures that the application is always up-to-date without the user having to check for any patch updates manually. Currently, only security ...Assign Asset to Site/Department
Track the ownership and physical location of an asset within an organization. Role Required: SDAdmin, SDSiteAdmin, Technicians with Add/Edit Assets permissions. In the Assets tab, select your preferred asset classification - IT Asset, Virtual Hosts ...Assign Non-IT Assets to Department/Site
Assign Non-IT Assets to Department/Site Track the ownership and physical location of a non-IT asset within an organization. On the assets list view, click Actions > Assign to Site or Assign to Department. Select the required site or department. Click ...Assign IT Assets to Department/Site
Assign IT Assets to Department/Site Track the ownership and physical location of an asset within an organization. On the assets list view, click Actions > Assign to Site or Assign to Department. Select the required site or department. Click Save. You ...